
Pita Bread (Time-Honored & Tasty)
A good homemade pita bread recipe is like having a bar of gold in your cupboard, it’s precious.
Of all the cuisines in the world, you will see that it is bread that unites them all.
Every culture has a different form of bread, one that reflects the types of food they eat in their country.
I’m pretty much in love with all of them.
Store bought pita bread can be very good, but homemade is so much better.
Making pita bread is a wonderful, and magical experience everyone should try at least once.
Fresh bread is an extraordinary thing, and I’m always willing to give a loaf of bread a chance!
Simply known as khubz in the Arab world, literally meaning bread, pita is exactly that, bread.
It’s the bread that is used for everything in that part of the world, and why it’s just known as bread.
What is Pita Bread?

It all started about 14,500 years ago when the Natufian people were making flat bread in what is modern day Jordan.
These loaves were most likely the predecessors to modern pita bread with the pocket in the middle.
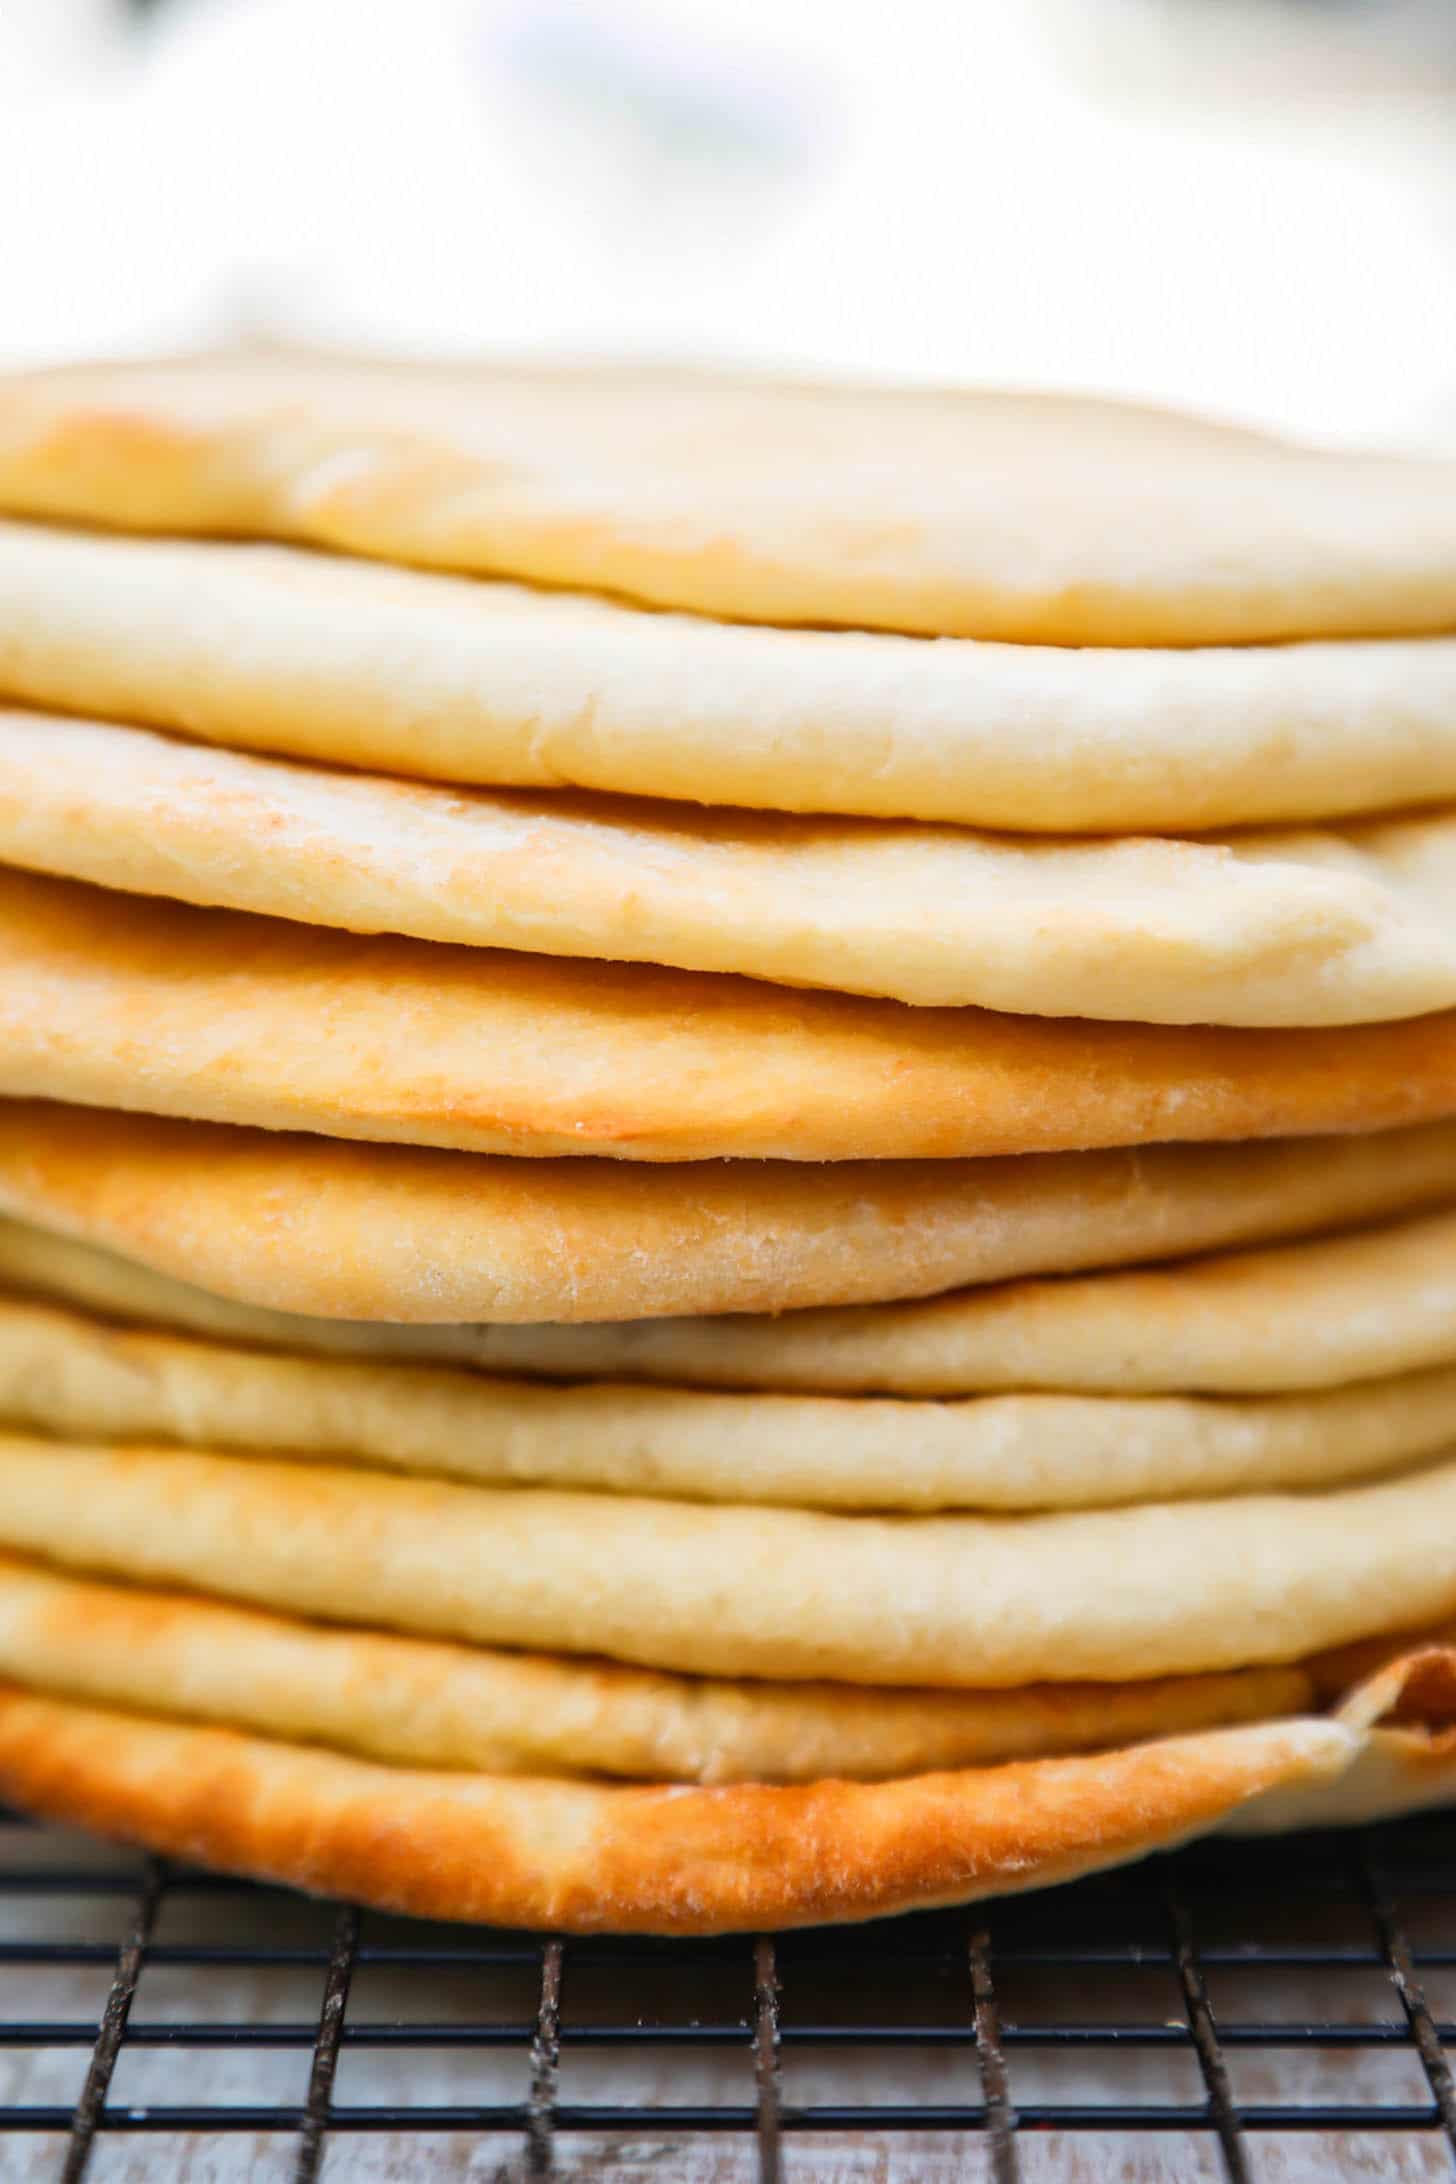
A pita is a round flatbread that is baked in high heat causing the bread to puff, creating a space in the middle.
Used extensively around the world, pita bread is especially widespread throughout the Middle East.
A staple food in many Arab countries, bought fresh directly from bakeries, and grocery stores.
This type of bread is used for dipping, and sandwich making, utilizing the natural pocket within.
The reason for the puff is because the moisture inside the dough, when placed in a super hot oven, turns to steam.
This action is what creates the famous hollow middle that expands, making the beautiful space for fillings.
The dough needs to be kneaded well to create a more elastic gluten, which in turn allows the dough to be more elastic.
It is also very important to make the loaves as round as possible as this helps the bread puff up making better pockets.
This is a very satisfying loaf to learn to make, and a good showstopper for invited friends.
Many people might think that pita is pita is pita, but that would be completely wrong!
There is a whole variety of pitas, they are made differently in different bakeries and by different people.
White flour pita, wheat flour pita, bigger thicker loaves, thinner loaves, small ones that are great to eat in the moment.
Everyone has a preference for whether they like the bigger loaves, the thinner loaves, the thicker loaves, small, big, chewy, crunchy, and the list goes on.
But there is not a ‘right’ kind of loaf, sort of like wine, if you like it, then it’s good!
How to Make Pita Bread
Making this bread is actually easier than you may think, and once you get the hang of it there is no going back.
There is nothing special about this bread recipe in itself, usually the simpler the better.
Most bread recipes for a dough, if following instructions on preparation, will provide you with pita bread.
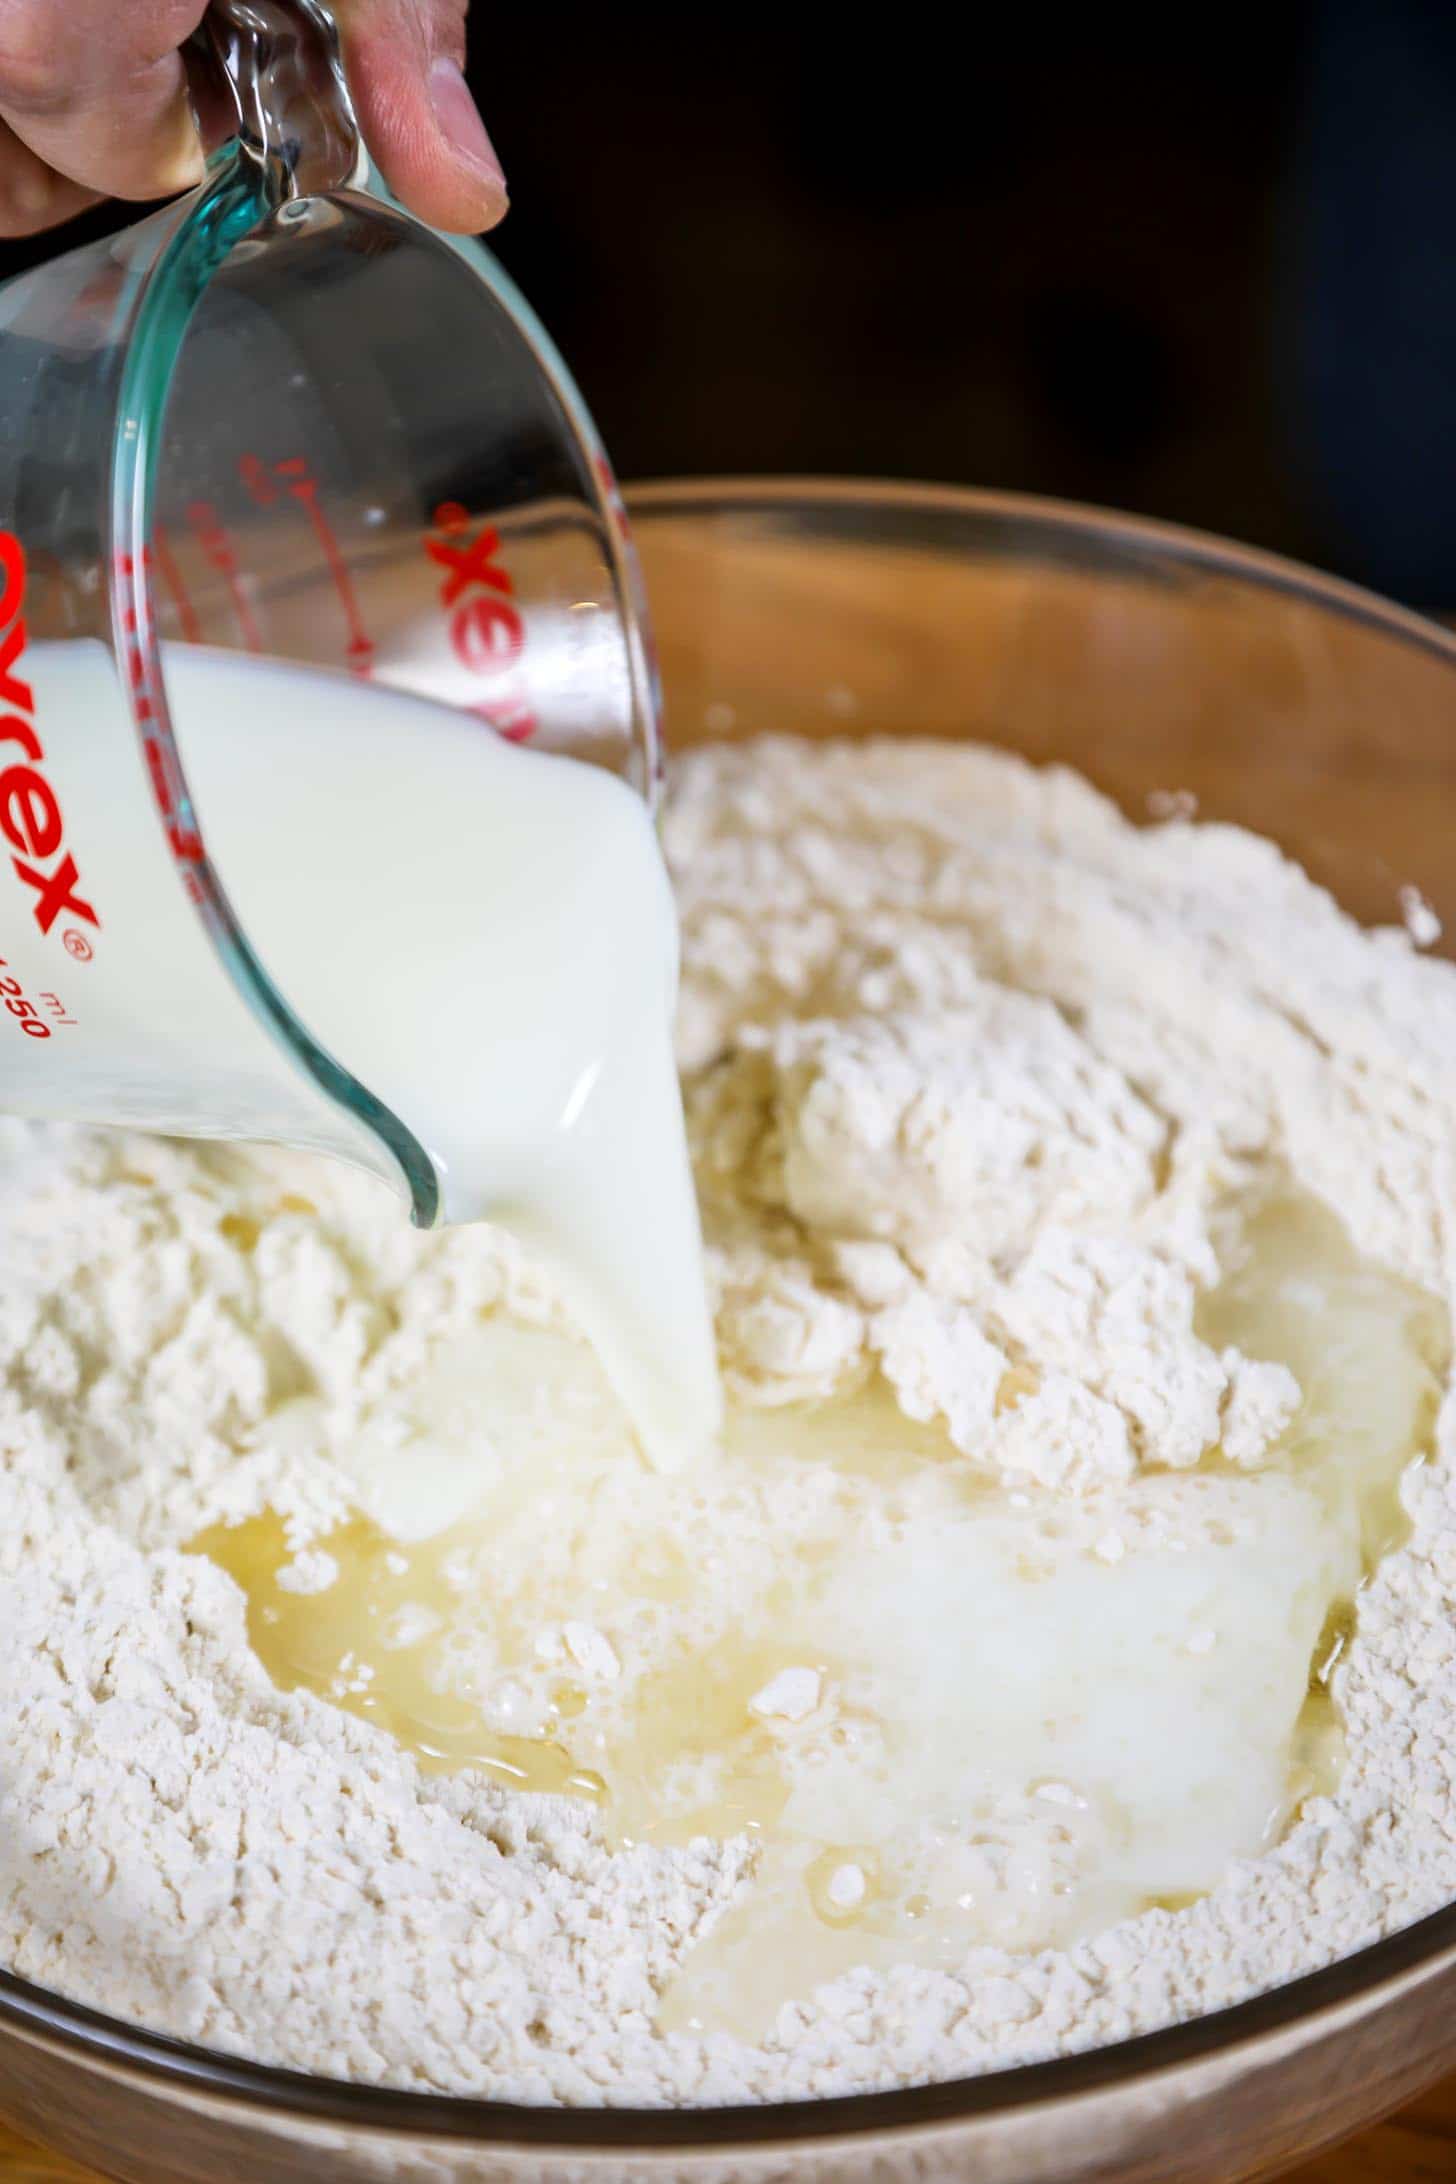
In a large bowl, mix the flour, powdered milk, the salt, yeast and sugar, then add vegetable oil, water and milk; stir with a wooden spoon or whisk.
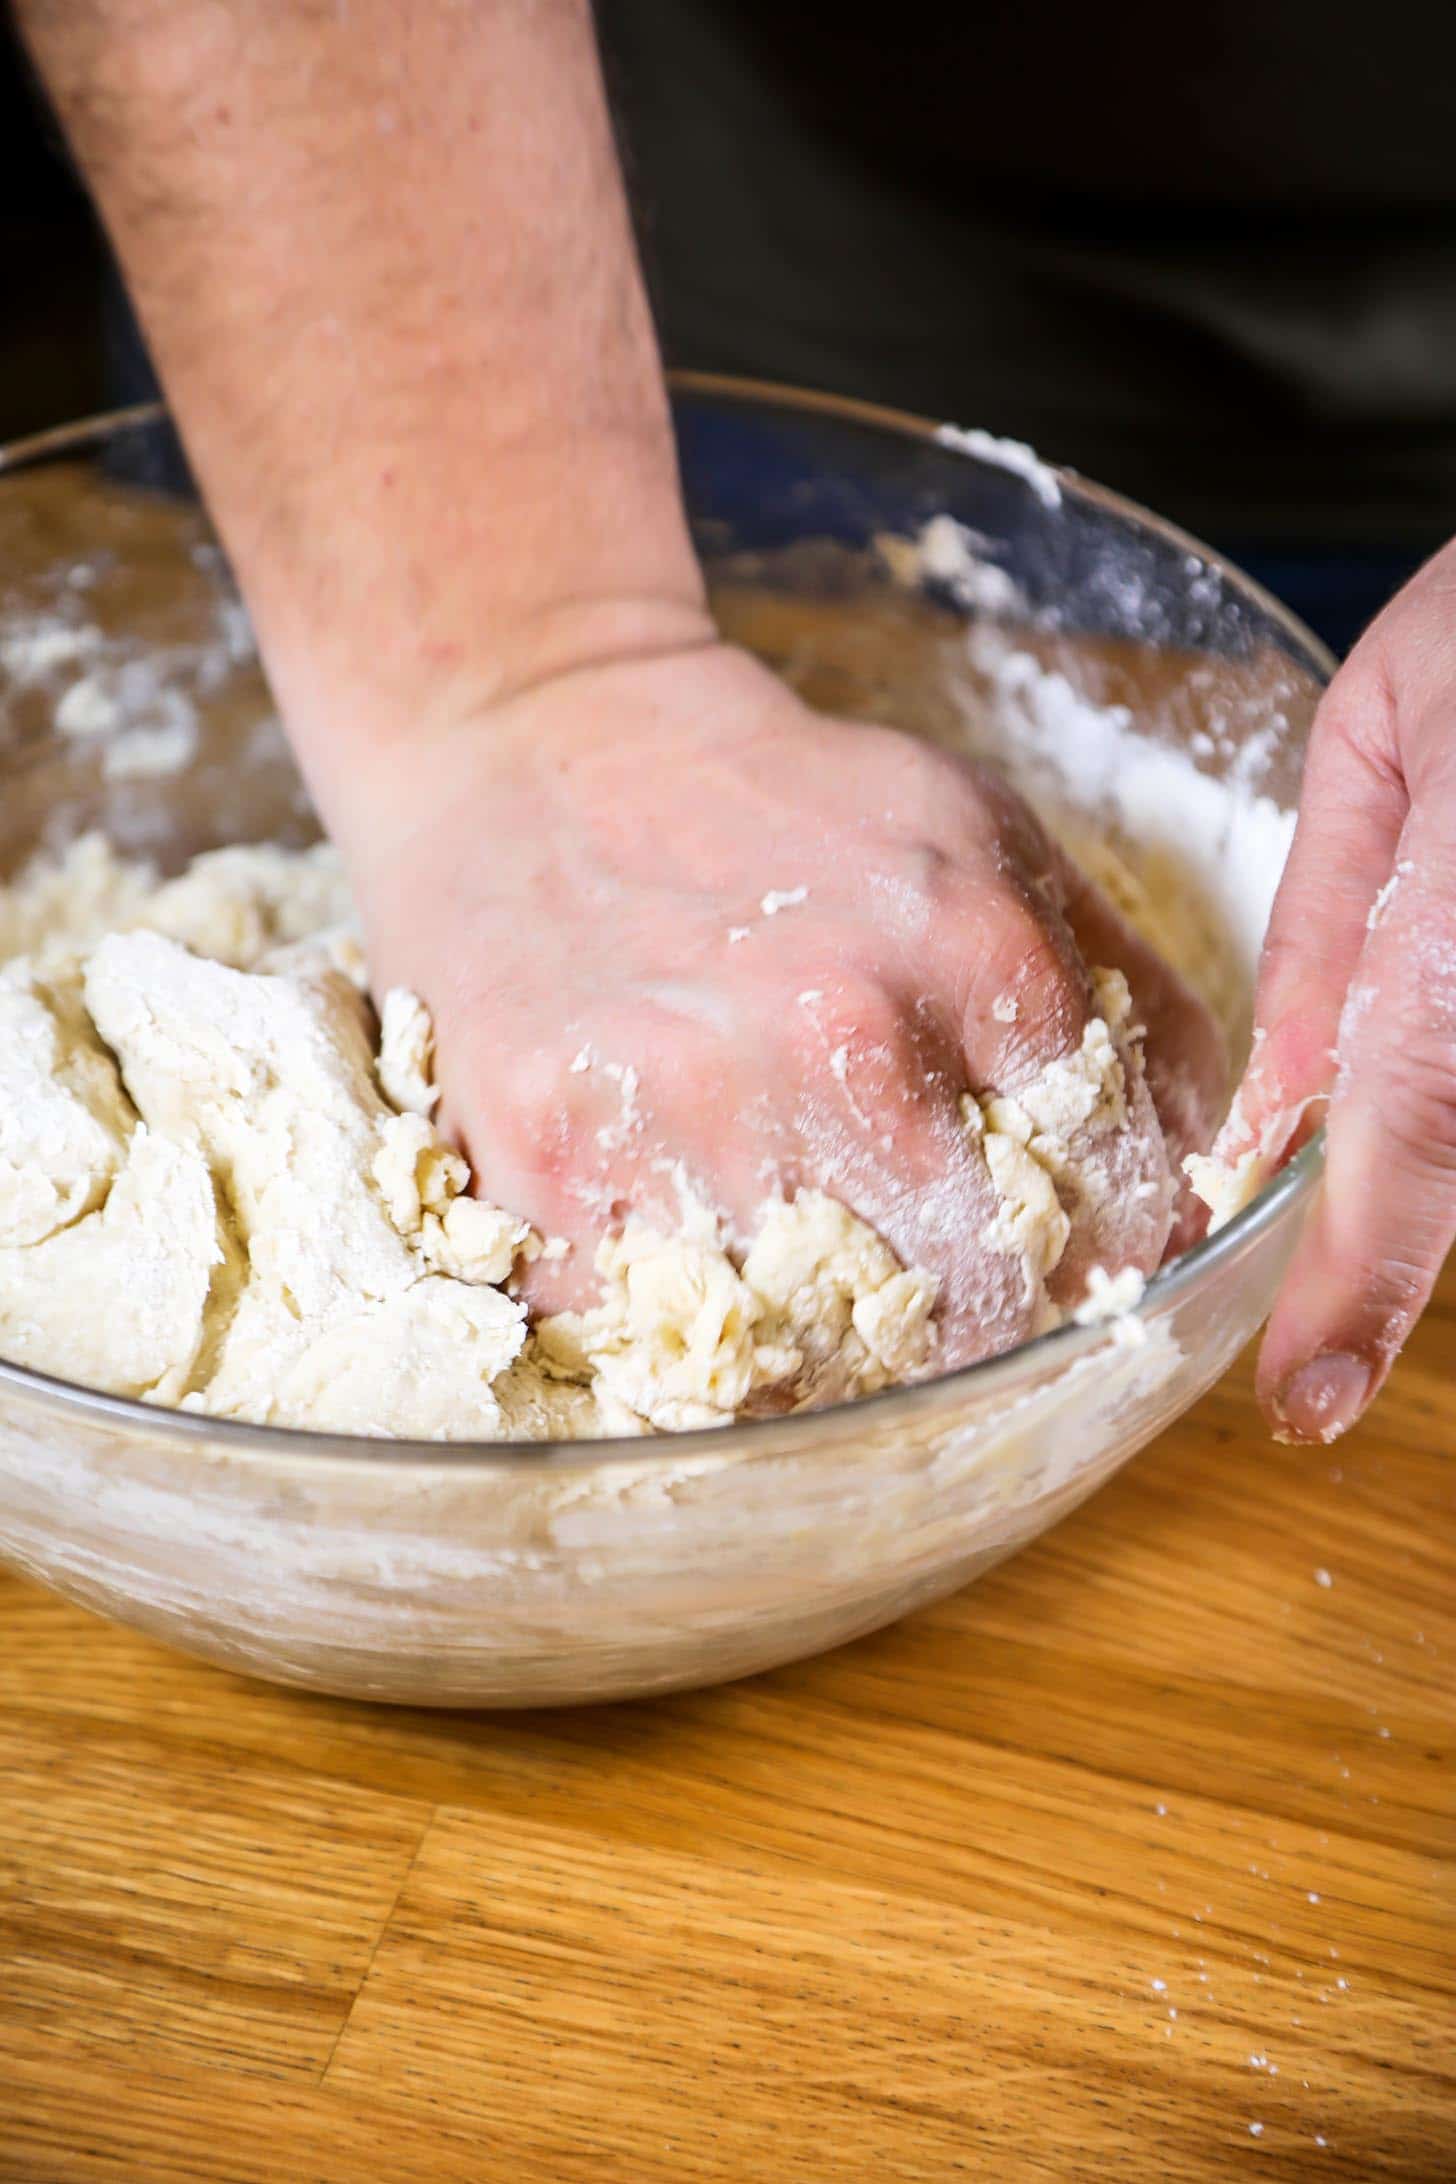
Keep mixing, using your hands, until a dough emerges that is just slightly sticky.
Knead the dough, adding extra flour as required to keep it from sticking, or extra water to keep it moist.
Remove from the working surface and return to the bowl, then cover the bowl with plastic wrap.
Cover that with a kitchen towel, and place the bowl in a warm place in your kitchen, allowing it to rise.
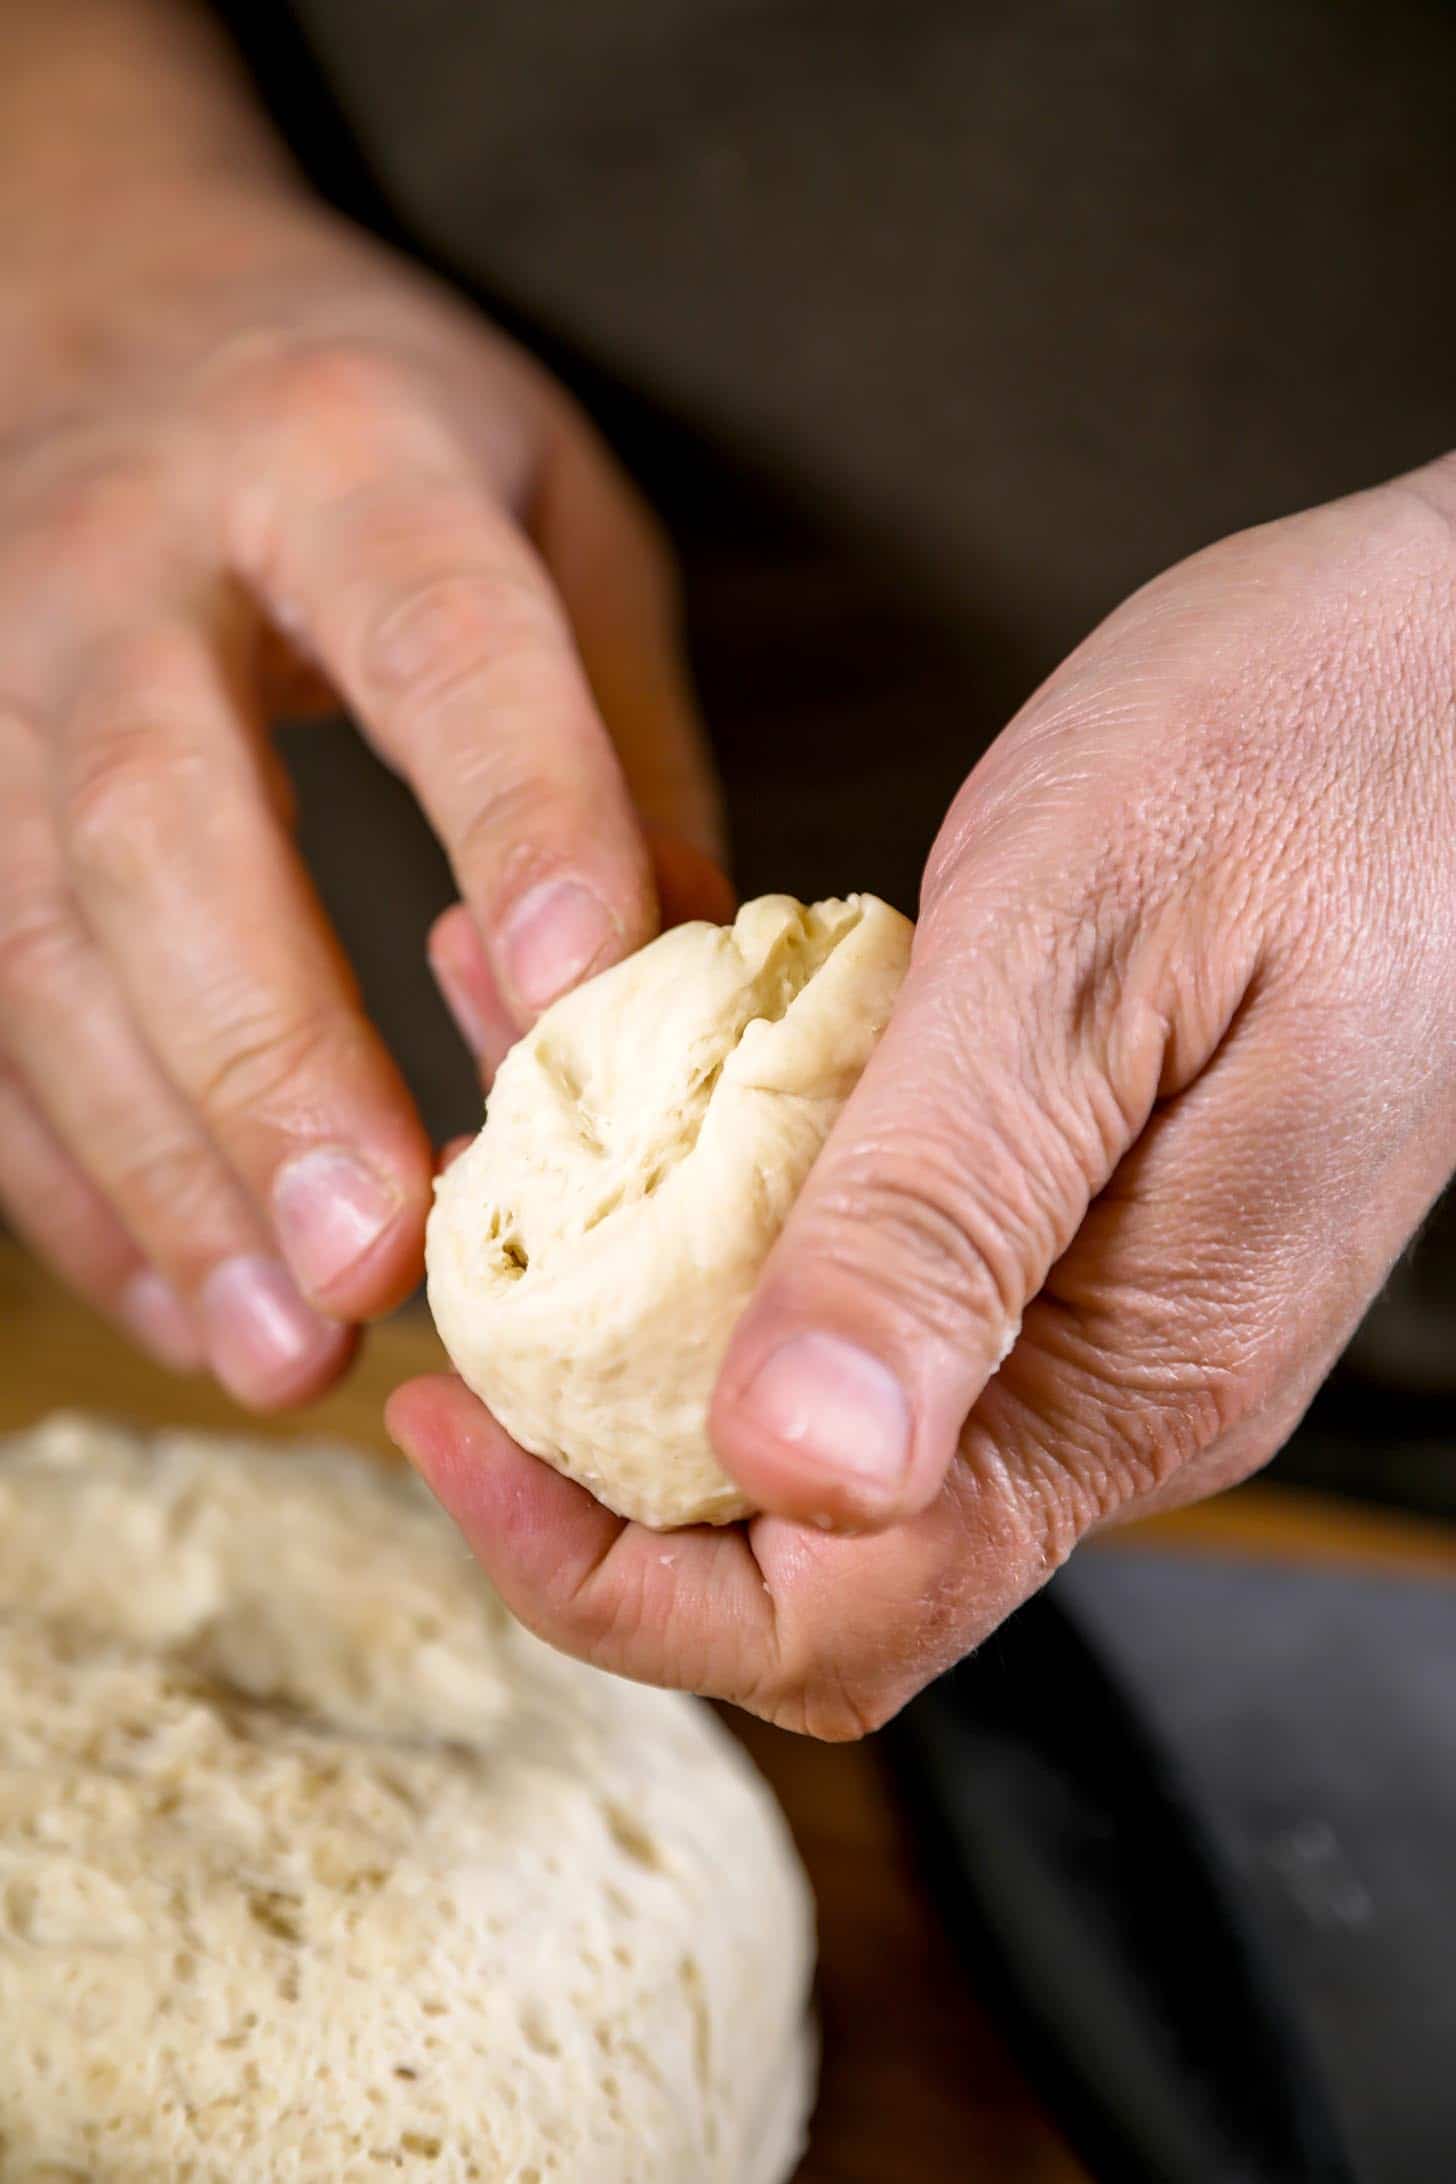
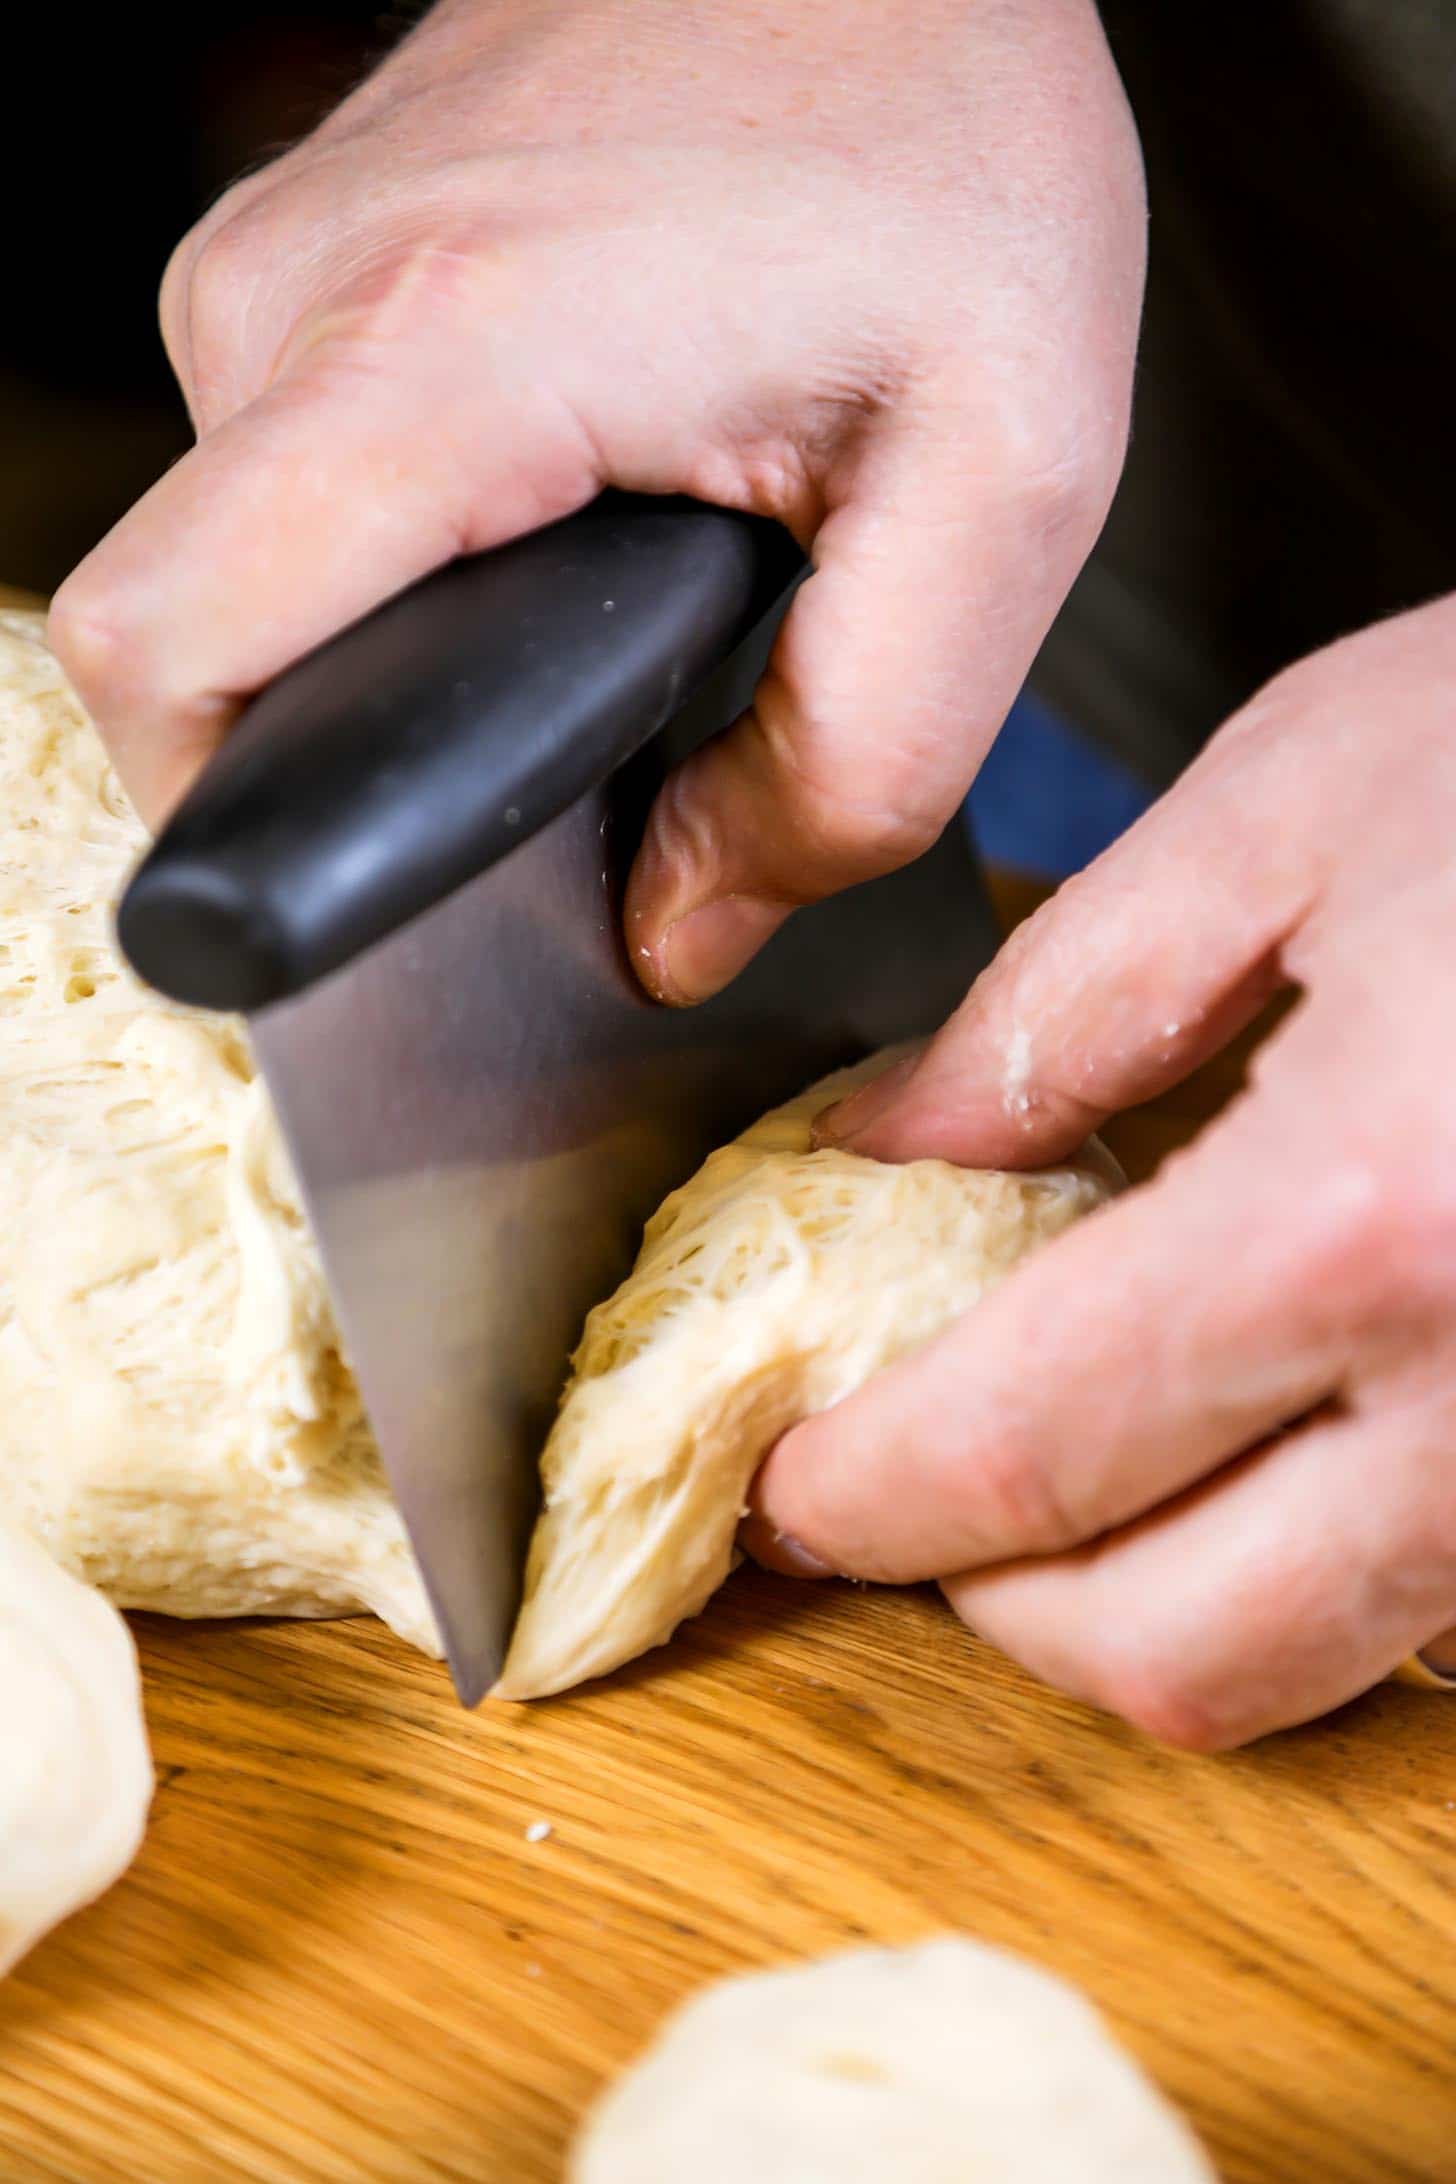
Once the dough has doubled in size (roughly an hour), punch down and divide the dough into dough balls.
Allow the dough balls to rest for about ten minutes before you roll them flat using a rolling pin.
You can also try the traditional method and use your hands to flatten the dough.
Put a little olive oil on your hands to keep the dough from sticking.
Slowly pressing from the middle of the dough ball out as you turn the dough will gently produce a flat dough.
Usually you want your dough to be about an eighth to a quarter of an inch thick.
Place the pitas on a parchment paper lined baking sheet and cover with a towel and let them sit for at least 15 minutes.
Bake your pita in a hot heated oven for 5 to 7 minutes.
Some people enjoy making their pitas on the stove top using a cast iron skillet, where you can really see them rise.
I like baking them on a pizza stone because the sudden hot surface helps the puffing process.
Baking steel will also provide good results when baking pita bread.
Why Make Pita?
One of the best reasons I can think of is because pita bread is actually so easy to make.
The pocket is, of course, really handy for those sandwiches requiring multiple ingredients.
You can also open a whole pita, fill it with your fillings, and then roll the whole pita making it easier to eat.
It’s useful to throw pita bread onto the grill, and then use it as a way to remove meat, and vegetables from skewers.
The pita becomes the flexible plate for the barbeque goers to eat from.
When grilling in the Middle East, pita is opened up and placed on the meat platter.
The cooked meats are then arranged over the bread so that it soaks up any juices coming from the meat.
This bread is then served alongside the food that is being prepared for an extra yummy side.
And then of course using pita bread is a wonderful way to eat with your hands.
Why Don’t all Pitas Have Pockets?
As I mentioned before the biggest reason for the pocket forming is the hot oven, which makes the moisture in the dough turn to steam.
Also, allowing the dough to rest before baking helps the process since the dough has risen a little.
Other non-pocket pita type breads will go quickly from being rolled, to being baked, or pressed right before they are baked.
Taboon bread is another type of bread from the Middle East that does not form a pocket.
This is because it is cooked over hot stones, and due to the uneven surface, a pocket does not form.
Tips for Making
- Having a good hot oven is key to making pita bread that puffs.
- Allow the loaves to rest for 30 minutes before you bake them for best results.
- Bake according to the thickness you’ve chosen for your pitas so as not to overcook them.

Pita Bread Recipe
Ingredients
- 4½ cups All Purpose Flour
- ¼ cup Powdered Milk
- 1 tbsp Salt
- ¼ cup Sugar
- ¼ cup Vegetable Oil
- 1½ tbsp Yeast
- ¾-1 cups Water
- 1 cup Milk
Instructions
- In a large mixing bowl add the flour, powdered milk, salt, sugar and yeast. Mix together.
- Make a small well in the mixture. Pour in the oil, milk and ¾ cup of water.
- Use your hands to combine the mixture into a dough. Add water a bit at a time and keep mixing until you have a nice dough.
- Add up to a ¼ cup water if the dough appears dry and hard to work.
- Cover and leave to rise until double in size.
- Once doubled in size, knead the dough gently for 15 seconds.
- Flour a surface. Take a fist sized chunk of dough and place it on the floured surface.
- Using a rolling pin, roll out the dough until it has roughly a 7 inch circumference.
- Place on baking paper on a baking tray. Cook in the oven for 5-7 minutes at 450°F (230°C).

Hi Chef Tariq, I am going to make your Pita recipe = I have a few questions for your help. 1, how many fist sized balls for Pita will I get from your recipe; 2, do I use dry yeast or cake yeast for best results? Is Kalamata Greek Olive Oil best for flavor? Should baking sheet be on center rack in oven? Should Pita in oven be browned to light or medium brown? THANK YOU!
Hi there, it’s so good to hear from you. I’m happy you are going to give this recipe a try. This recipe will make eight to ten larger size pitas. but you can probably get 12 to 14 smaller size ones easily. The thickness of your loaves will make the difference here. Dry instant yeast works very well and is what I use. Most good quality olive oils will, and the one you reference sounds sublime. The ideal method of cooking is to use a pizza stone if you have one. This will help the puffing of the bread, but you will also require a peel to slide the bread on and off. However, the other way is to put the rolled out pitas (about a 1/4 inch thick) on a tray and let them sit covered with a clean kitchen towel for about ten minutes. Then place them in a very hot oven on the center rack and let them cook. Try and resist opening the oven to watch them puff if you can, because this will just inhibit them from doing what you want. If you want to experiment try rolling some thinner and some thicker to find your perfect pita size and thickness.If you baking in an oven then your bread will be a lighter brown, otherwise it will be overcooked. Beautifully browned pita are baked in oven with flames over the top as well as the bottom of the bread. When I want this I use a chef’s blow torch to brown the tops. It might take making these a few times to get them exactly how you want them. But I know you will enjoy the process! Good luck!
Your khubz looks great, thanks for sharing the recipe. There’s something I’m wondering about – do you personally usually make this using US volume measurements (cups etc) or measuring by weight (grams)?
I usually bake by weight (grams), so I was happy to see that you have metric measurements listed. I may just be mixed up, but it seems to me that the US volume measurements don’t line up with the metric weight measurements. For example, I usually use 120g as the weight for a US cup of AP flour. I’ve seen some people use a heavier weight (128g or 130g per cup) but haven’t seen anyone use a lighter conversion so it surprised me to see this recipe call for 4 1/2 cups by volume or 280g which I believe equals 2 1/3 cups by volume. Other ingredients seemed changed as well. Maybe the metric version has a different yield?
I’d like to give this a try, and I’m not sure whether to use the amounts in the metric ingredient list or the US volume ingredient list. I figured using the version you use yourself is the safest bet. Thanks for sharing your wonderful recipes and thanks in advance for your help with this one.
Hello and thanks for getting in touch. I’m so sorry about that. The plug-in is from a third party and sometimes it seems not to be very accurate. I will search for a new one. My apologies once more. I am delighted you like the recipes!
Great recipes with wonderful directions.